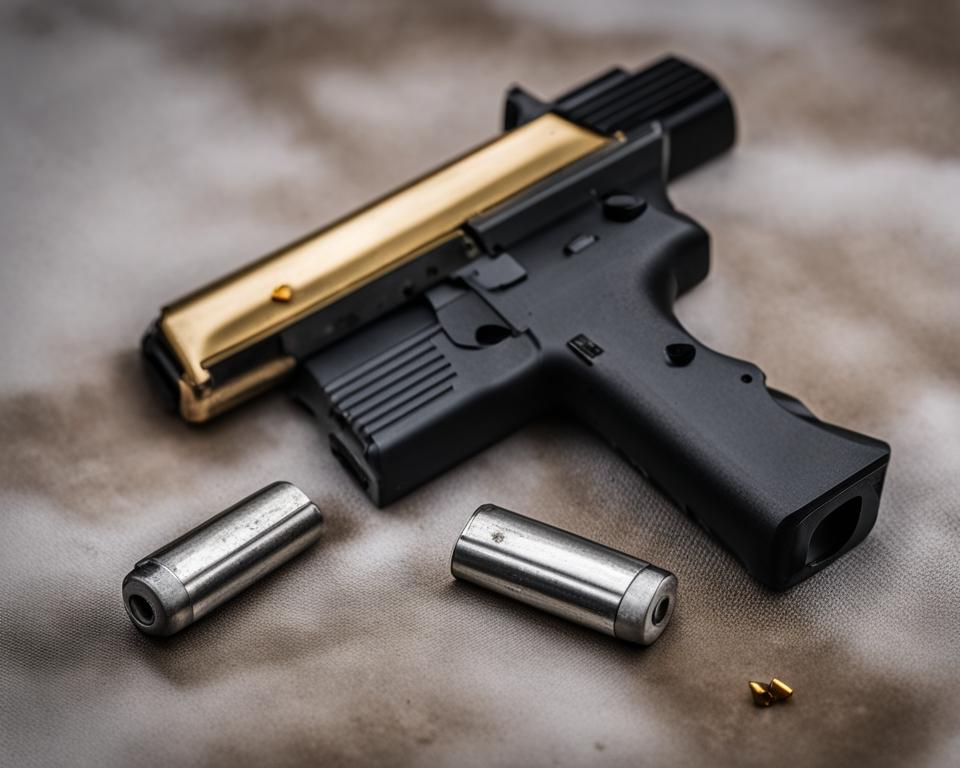
To keep your Glock 40 in optimal condition, it is essential to follow the proper cleaning procedures. Regular cleaning not only ensures the longevity of your firearm but also contributes to its reliable performance. Whether you are a seasoned Glock owner or a first-time user, this comprehensive cleaning guide will provide you with step-by-step instructions on how to clean and maintain your Glock 40.
Key Takeaways:
- Cleaning your Glock 40 regularly is crucial for its performance and longevity.
- Read the owner’s manual and follow safety rules before starting the cleaning process.
- Properly gather the necessary tools and create a well-ventilated workspace.
- Clean the slide, frame, barrel, magazines, and recoil spring assembly with appropriate cleaning products.
- Ensure all components are thoroughly cleaned and lubricated before reassembling the pistol.
Getting Started and Necessary Tools
Before you begin the cleaning process for your Glock 40, it’s important to gather the necessary tools and familiarize yourself with the pistol’s components. Having the right tools and a clean workspace will ensure a thorough and effective cleaning. Here’s what you’ll need:
- Solvent: Choose a quality gun cleaning solvent that is specifically formulated for firearms. This will help break down carbon, dirt, and residue.
- Patches: Use cotton patches to apply solvent and remove debris from various parts of the gun.
- Toothbrush: A soft-bristled toothbrush will come in handy for scrubbing hard-to-reach areas and removing stubborn build-up.
- Dry Rags: Use clean, lint-free rags to wipe down and dry the pistol and its components.
It’s also important to have a properly ventilated workspace to ensure the safety of yourself and others. Make sure there is adequate airflow to avoid inhaling any fumes from the cleaning products. Additionally, wearing disposable gloves can help protect your skin from any harsh chemicals.
Once you have gathered all the necessary tools and prepared your workspace, you’re ready to start cleaning your Glock 40. Proper cleaning and maintenance are essential for keeping your firearm in optimal condition and ensuring its reliable performance.
| Tools | Benefits |
|---|---|
| Solvent | Aids in breaking down carbon, dirt, and residue for effective cleaning |
| Patches | Designed to apply solvent and remove debris from various parts of the pistol |
| Toothbrush | Helps scrub hard-to-reach areas and remove stubborn build-up |
| Dry Rags | Used to wipe down and dry the pistol and its components |
Cleaning the Slide and Frame
Properly cleaning the slide and frame of your Glock 40 is essential for maintaining its performance and longevity. Here are the steps and techniques to ensure a thorough cleaning:
Slide Cleaning
- Begin by ensuring your Glock is unloaded and disassembled according to the manufacturer’s instructions.
- Using a solvent-soaked patch, clean the barrel and interior surfaces of the slide. Pay close attention to the breech face and slide rails.
- For stubborn carbon buildup, use a toothbrush to scrub the hard-to-reach areas and crevices.
- Wipe away any excess solvent and debris with a clean, dry rag.
Frame Cleaning
- Focus on removing carbon and dirt from the exterior, magazine well, and internal parts of the frame.
- Use a toothbrush and patch to clean hard-to-reach areas, such as the trigger assembly and slide stop.
- Ensure all surfaces are thoroughly cleaned and free of debris.
- Once clean, allow the frame to dry completely before proceeding to lubrication and reassembly.
By following these proper cleaning techniques, you’ll keep your Glock 40 in optimal condition and ensure reliable operation.
| Benefits of Proper Slide and Frame Cleaning | Tips for Effective Cleaning |
|---|---|
| 1. Prevents malfunctions and misfires | 1. Refer to the manufacturer’s cleaning instructions |
| 2. Extends the lifespan of your Glock 40 | 2. Use proper safety equipment, such as safety goggles and disposable gloves |
| 3. Maintains the accuracy and reliability | 3. Clean in a well-ventilated area |
| 4. Removes harmful debris and carbon buildup | 4. Be thorough and patient with the cleaning process |
Now that you have cleaned the slide and frame of your Glock 40, it’s time to move on to the next step: cleaning and lubricating the recoil spring assembly.
Glock 40 Maintenance Tips: Cleaning and Lubricating the Recoil Spring
Proper maintenance of your Glock 40 includes regular cleaning and lubrication of its various components. One important area to focus on is the recoil spring, as it plays a crucial role in the pistol’s operation. Cleaning and lubricating the recoil spring will help ensure reliable cycling and extend the lifespan of your firearm.
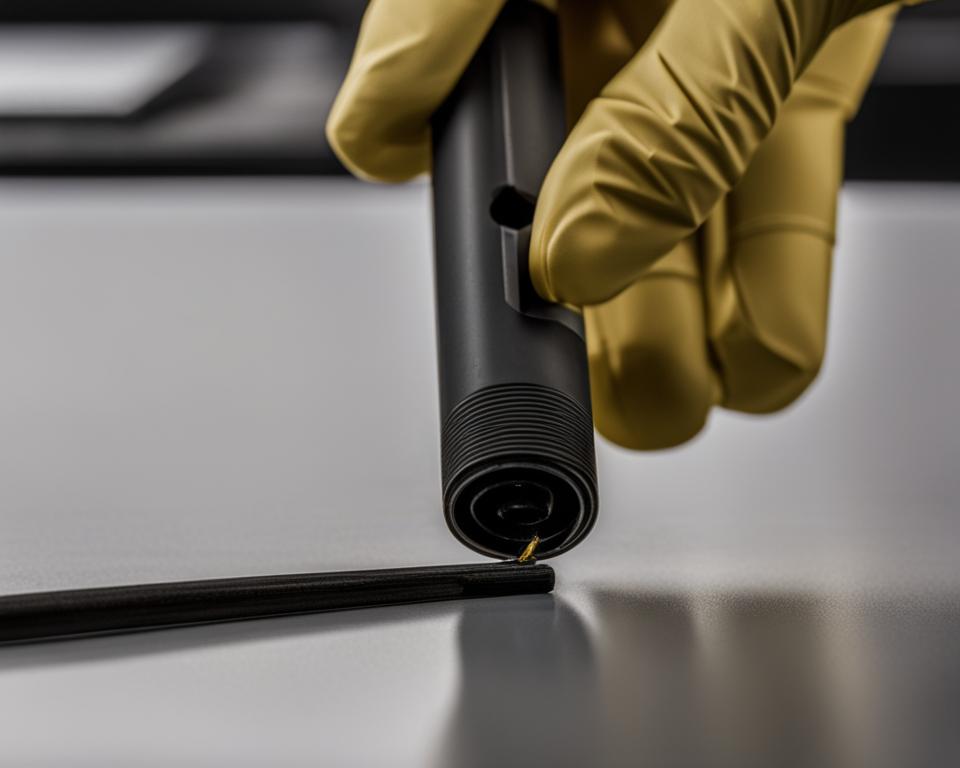
To begin, remove the recoil spring assembly from the slide. Wipe it down with a dry patch or rag to remove any debris or residue that may have accumulated. It’s important to clean the assembly thoroughly, paying attention to the coils and surfaces where carbon buildup may occur.
Next, apply a small amount of gun lubricant to the recoil spring. This will help reduce friction and ensure smooth movement when the pistol is fired. Be sure to apply the lubricant sparingly, as excessive oil can attract dirt and debris, potentially causing malfunctions.
Once the recoil spring has been cleaned and lubricated, it’s time to reassemble the pistol. Ensure that all other components, such as the slide, frame, and barrel, are also properly cleaned and lubricated before reassembly. Perform a function check to confirm that everything is functioning as it should.
The table below provides a summary of the cleaning and lubrication process for the Glock 40 recoil spring:
| Step | Description |
|---|---|
| 1 | Remove recoil spring assembly |
| 2 | Wipe down with dry patch |
| 3 | Apply small amount of lubricant |
| 4 | Reassemble pistol |
By following these proper cleaning techniques and maintaining regular lubrication of the recoil spring, you can ensure that your Glock 40 performs reliably and remains in optimal condition for years to come.

Cleaning the Barrel
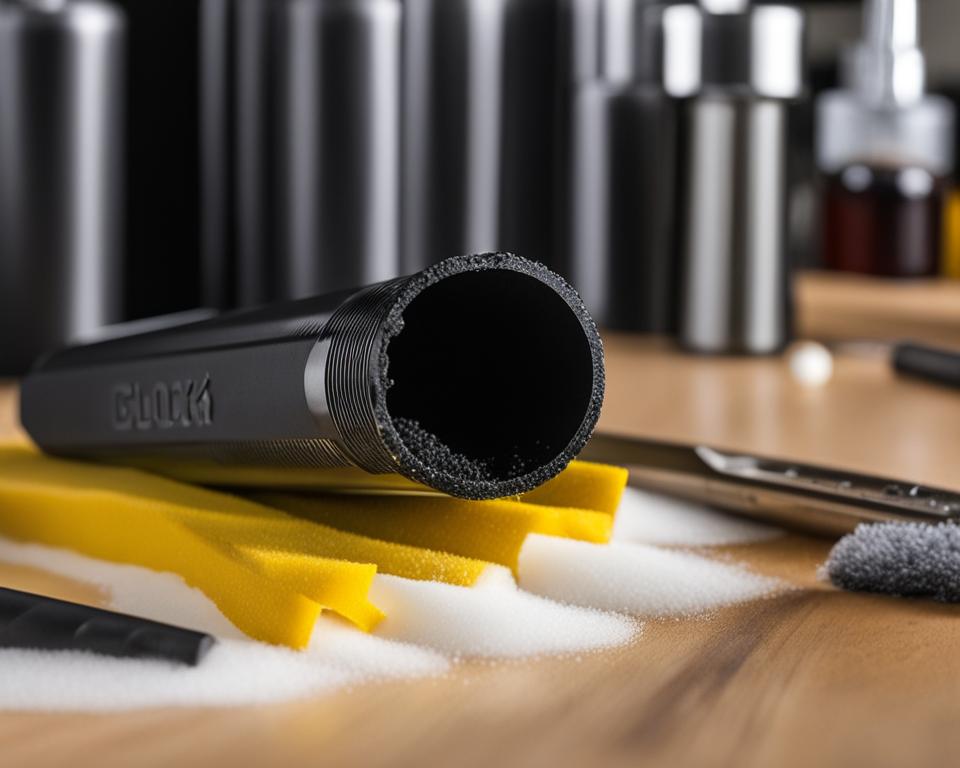
Properly cleaning the barrel of your Glock 40 is essential to ensure optimal performance and accuracy. Follow these step-by-step instructions to effectively clean the barrel:
- Remove the barrel: Before cleaning the barrel, remove it from the slide of the pistol. Make sure the gun is unloaded and the magazine is removed, then disassemble the gun according to the manufacturer’s instructions.
- Brush the barrel: Use a dry brush to remove any debris or residue from the inside of the barrel. Scrub the bore in a back-and-forth motion to dislodge any buildup.
- Apply solvent: Once the barrel is brushed, apply a solvent-soaked patch to the bore. Push the patch through the barrel several times to remove any remaining dirt or fouling.
- Wipe down the barrel: After using the solvent-soaked patch, use a clean patch or rag to wipe down the inside of the barrel. This will remove any excess solvent and ensure the barrel is clean and dry.
- Clean the feed ramp: Pay attention to the feed ramp, which is located in the chamber area of the barrel. Use a clean patch or rag to wipe down the feed ramp and remove any residue or debris that may affect feeding.
- Inspect for cleanliness: After cleaning the barrel, inspect the bore and chamber to ensure they are clean and free of any obstructions. Use a good light source and visually inspect the barrel from both ends.
By following these cleaning instructions, you will maintain the accuracy and reliability of your Glock 40. Regular cleaning and maintenance are vital to keep your firearm in top condition, ensuring safe and efficient operation.

Summary
Cleaning the barrel of your Glock 40 is an important part of regular firearm maintenance. By removing debris, dirt, and residue from the barrel, you can ensure optimal performance and accuracy. Remember to follow proper safety procedures and consult your owner’s manual for specific instructions on disassembling and cleaning your gun.
| Cleaning Tips | Glock 40 | Maintenance Tips |
|---|---|---|
| Follow proper cleaning procedures | Clean the barrel | Regularly inspect for cleanliness |
| Use solvent and brushes | Remove debris with a dry brush | Wipe down the feed ramp |
| Inspect for obstructions | Apply solvent-soaked patches | Ensure safe and efficient operation |
Cleaning the Magazines
Properly cleaning your Glock 40 magazines is essential to maintain reliable and smooth feeding of ammunition. Follow these best practices to ensure your magazines perform at their best:
- Start by wiping down the exterior of the magazines with a clean cloth or patch to remove any carbon buildup or dirt. Pay special attention to cleaning the feed lips and follower, as these areas can accumulate debris over time.
- If necessary, disassemble the magazines according to the manufacturer’s instructions for a more thorough cleaning. Some Glock magazines can be easily taken apart by removing the floor plate and sliding the base pad and follower out of the magazine body.
- Clean all the disassembled parts, including the magazine body, follower, and spring, with a mild solvent or gun cleaner. Use a small brush or toothbrush to scrub away any stubborn dirt or residue.
- Rinse all the components with clean water to remove any remaining solvent or cleaner. Dry them thoroughly with a clean cloth or allow them to air dry.
- Before reassembling the magazines, ensure that all the components are clean and dry. Apply a light coat of lubricant to the inside of the magazine body, the follower, and the spring to promote smooth movement.
- Reassemble the magazine by carefully inserting the follower and spring back into the magazine body. Slide the base pad and floor plate back into place until they snap securely.
- Perform a function check on your reassembled magazines to ensure they are feeding properly. Load them with dummy rounds or snap caps, and cycle them through your Glock 40 to verify reliable feeding and ejection.
By regularly cleaning and maintaining your Glock 40 magazines, you can help prevent malfunctions and ensure consistent performance when you need it most.

Proper Lubrication and Reassembly
Once you have completed the cleaning process for your Glock 40, it is essential to properly lubricate the pistol before reassembling it. Following Glock’s recommended lubrication instructions is crucial for maintaining the firearm’s performance and longevity. However, it is important to be sparing with the oil to prevent excess buildup.
Apply a light coating of oil to the barrel, slide, and frame where necessary. Pay close attention to the areas that experience the most friction, such as the slide rails and barrel hood. Using a clean cloth or cotton swab, distribute the oil evenly to ensure smooth operation. Remember, a little goes a long way when it comes to lubricating your Glock 40.
Once all the components are clean and lubricated, it’s time to reassemble the pistol. Follow the manufacturer’s instructions and ensure that each part is correctly aligned and seated. Take your time to avoid any mistakes that could affect the firearm’s function.
After reassembly, it’s crucial to perform a function check to ensure that everything is working correctly. Carefully rack the slide, engage the safety features, and test the trigger. Pay attention to any unusual noises or malfunctions during this process. If everything checks out, your Glock 40 is ready for action once again.
FAQ
What are the necessary tools for cleaning a Glock 40?
Some common tools include solvent, patches, toothbrushes, and dry rags.
How often should I clean my Glock 40?
It is recommended to clean your Glock 40 after each use or at least every 500 rounds.
Can I use the same cleaning process for other striker-fired pistols?
Yes, the cleaning process outlined here can be applied to other striker-fired pistols like the Smith & Wesson M&P series, Springfield XD/XDM series, and the Sig Sauer P320.
Do I need to disassemble the magazines for cleaning?
If necessary, you can disassemble the magazines for a more thorough cleaning.
How should I lubricate my Glock 40?
Follow Glock’s recommended lubrication instructions and be sparing with the oil to prevent excess buildup.

Leave a Reply